Phoenix acceptance tests on Semaphore CI
Plataformatec just published a great introduction to testing Phoenix apps with Hound. Hound is really cool because it gives you a nice API to build browser-based acceptance tests that exercise your complete application — from your Ember/React/Angular frontend to your Phoenix backend.
defmodule Myapp.Integration.AuthenticationTest do
  use Myapp.IntegrationCase

  test "log in and log out" do
    insert_user email: "[email protected]", password: "secret"

    navigate_to "/"
    click({:link_text, "Sign In"})
    sign_in_with("[email protected]", "secret")

    assert logged_in?

    click({:link_text, "Sign Out"})

    refute logged_in?
  end

  defp logged_in? do
    page_source =~ "Sign Out"
  end

  defp sign_in_with(email, password) do
    fill_field({:name, "session[email]"}, email)
    fill_field({:name, "session[password]"}, password)
    click({:css, "[type=submit]"})
  end
end
Running tests in CI
Once you start writing acceptance tests, the next step is to get them running in continuous integration. Semaphore CI has a great blog post about setting up CI for a basic Phoenix app. However if you want to test with Hound, there are a couple more steps that you need to do.
Modifications to the app
The only code modification you should need to make is to allow the database
username and password to be set via environment variables in config/test.exs.
On Semaphore, these variables are
DATABASE_POSTGRESQL_USERNAME and DATABASE_POSTGRESQL_PASSWORD.
# Configure your database
config :myapp, MyApp.Repo,
  adapter: Ecto.Adapters.Postgres,
  username: System.get_env("DATABASE_POSTGRESQL_USERNAME") || "postgres",
  password: System.get_env("DATABASE_POSTGRESQL_PASSWORD") || "postgres",
  database: "myapp_test",
  hostname: "localhost",
  pool: Ecto.Adapters.SQL.Sandbox
Setting up your project
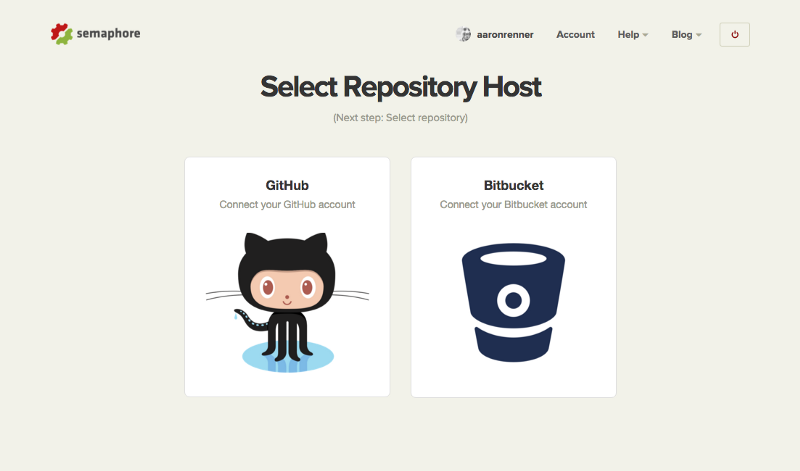
To get started, head over to Semaphore CI and create an account. Once your account is set up, click “Build a new project”.

Next, choose where your repo is hosted…
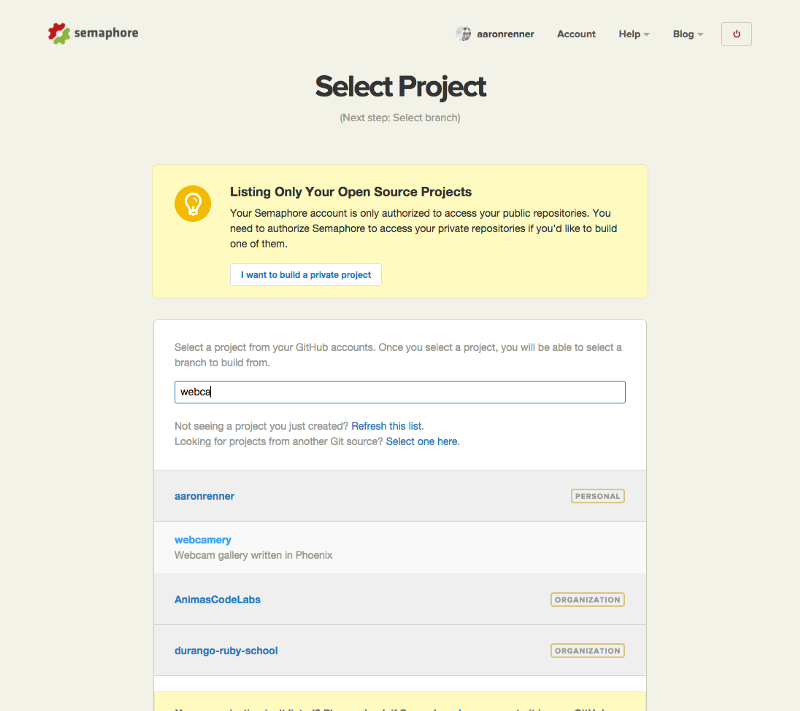
pick the project…
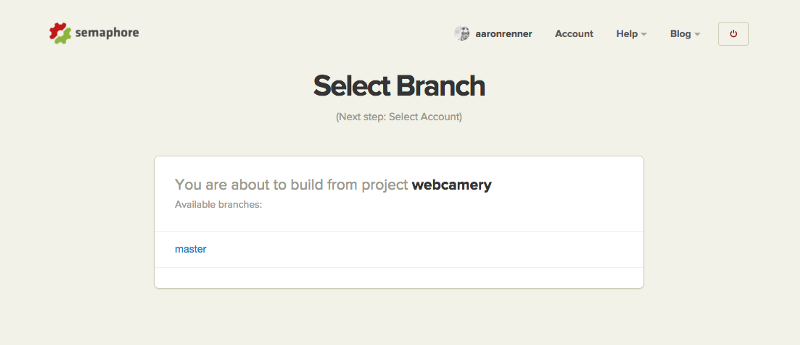
and the branch you want to build.
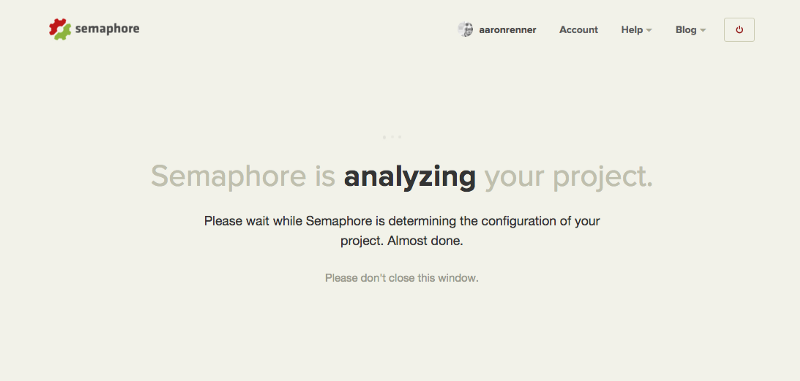
Now Semaphore will analyze the project and give you some sensible defaults for your first build.
Customizing the build plan
After Semaphore is done analyzing, it proposes a build plan like this:
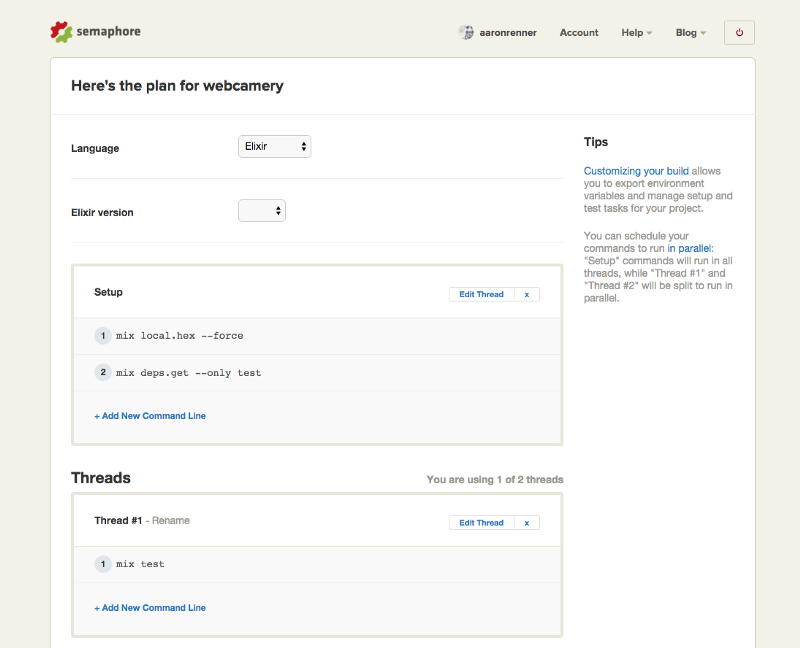 Choose the Elixir version and review the commands in the Setup section. Semaphore’s default Elixir build plan includes two Setup steps:
mix local.hex --force
mix deps.get --only test
This is great for a basic Elixir project, but there are a few more steps if you’re testing with Hound. In the Setup section, click “Edit Thread” and paste in these commands.
mix local.hex --force
mix deps.get --only test
nvm use 5.3.0
npm install
bower install
node_modules/.bin/brunch build
MIX_ENV=test mix do deps.compile, compile
phantomjs --wd --webdriver-loglevel=ERROR &
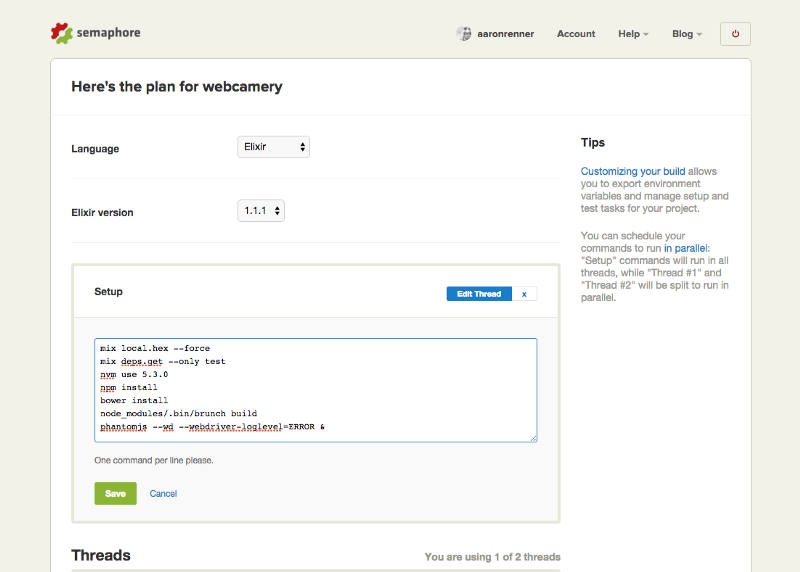
What did I just paste in?
Let’s take these additional commands line by line:
nvm use 5.3.0
First, we set the node version to 5.3.0. My project is using the latest version of Brunch to build my assets, and Brunch requires a recent version of Node.
npm install
Next, we install all of our NPM dependences. This also installs Brunch, Phoenix’s default tool for building assets.
bower install
My project has a few bower dependencies, so I run this to ensure everything is downloaded before the build.
node_modules/.bin/brunch build
Next, we generate the assets needed for our acceptance tests. Running mix test doesn’t automatically build our assets, so this step must be run in order for Hound to find our javascript.
MIX_ENV=test mix do deps.compile, compile
After that, we compile our app and its dependencies in the test environment. By running command this as part of the setup phase, we get a lot less noise in our test output later.
phantomjs --wd --webdriver-loglevel=ERROR &
Finally, we start our PhantomJS webdriver server for Hound. I send
it to the background with & so it keeps running for the rest of the
build. If you were using Chromedriver instead, you can run chromedriver &.
Your First Build.
Once you’ve updated your build plan, scroll to the bottom and click “Build With These Settings.” If all goes well, you should have your first green build in a minute or two.
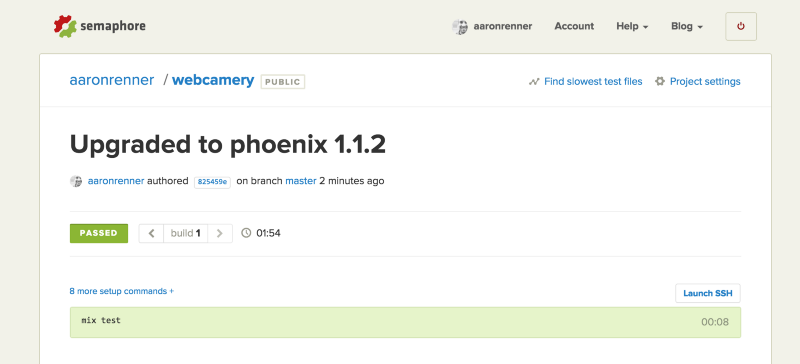
If you do run into a problem, you can click the “Launch SSH” button to connect to a build box and run your commands manually.
Wrapping up
If you’re going to spend the time writing acceptance tests, it’s a great idea to make sure they’re run in CI. Semaphore already has great support for Elixir, and with a few extra commands you can run full acceptance tests with Hound.
I also want to make sure to give credit where credit is due. Semaphore’s “Continuous Deployment with Phoenix” post was great for getting started. I hope this post has been helpful in showing how to put Hound into your testing mix.
Happy Testing!
Originally published at blog.animascodelabs.com on January 22, 2016.